Blog
This section allows you to create a fully-functional blog page with "Post List" and "Recent Posts" sections.
It is separated into three menu items: "Posts", "Templates" and "Settings", where you can add posts, modify the structure of the blog page and change the appearance of various widgets on the page.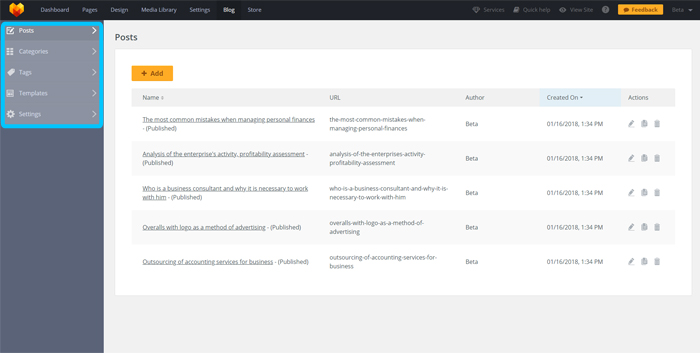
Posts
This menu item allows you to create new posts and modify existing posts. The more often you add useful posts to your site blog, the more popular becomes your site and the higher are your site rankings with search engines. The blog is a powerful tool to promote your business. You can create blog posts by yourself with ease by following this article. Also, you can have our copywriters create useful, popular, keyword-rich and SEO-friendly text for a blog post by purchasing our Blog Article Writing service by following this link.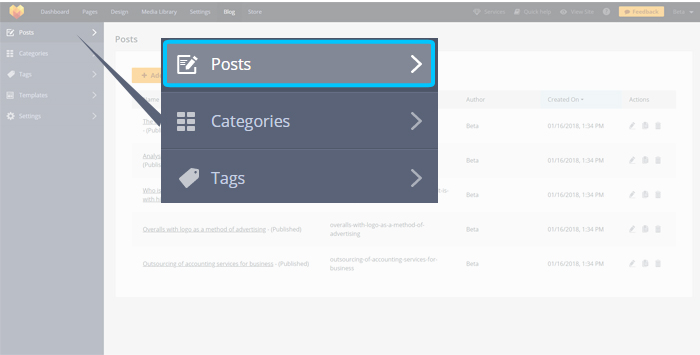
Each post has the following features: "Name" (post title), "URL", "Author" (your profile name), "Created On" and "Actions" (editing feature).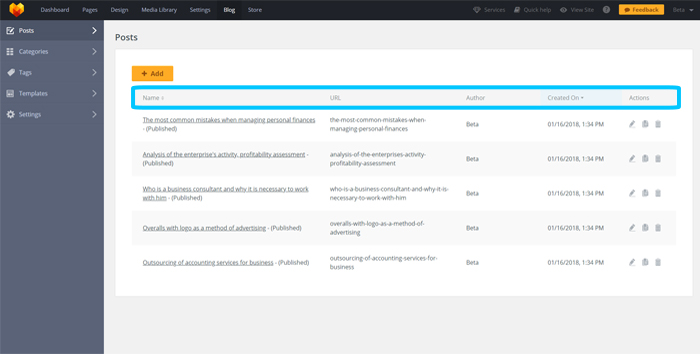
To create a new post you need to press the "Add" button.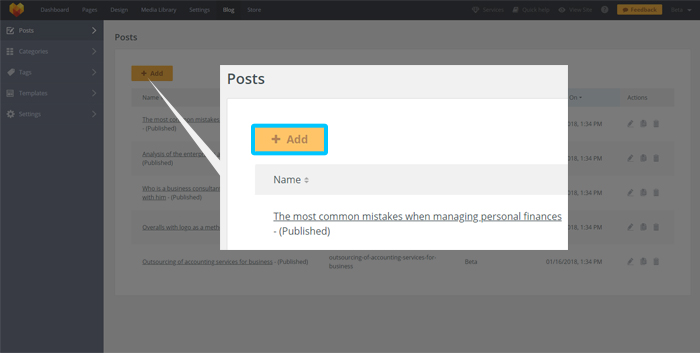
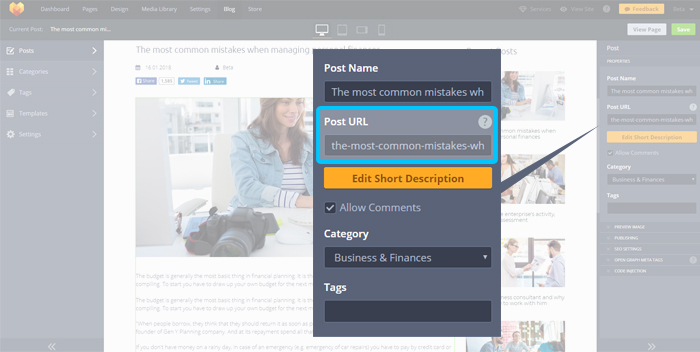
Specify your post title within the Post Name section and it will automatically fill "Post URL" field (you can change it manually if necessary).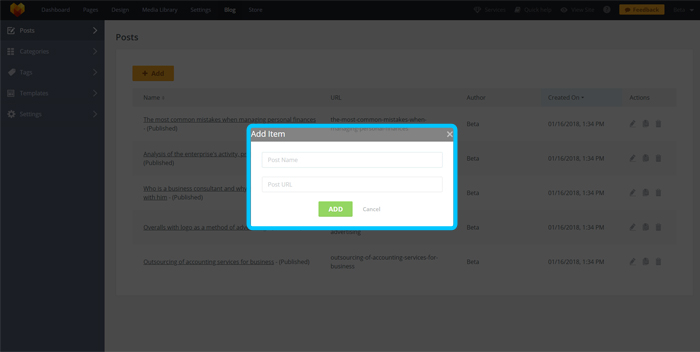
"Actions" field allows you to edit/duplicate/remove the post.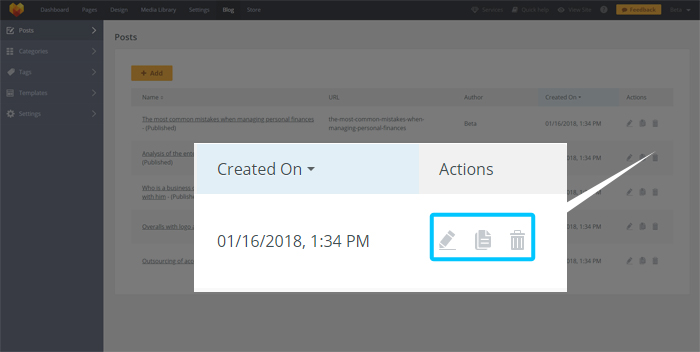
"Name" field contains your post title and status ("Published" or "Draft"). To enter post structure you need to click on the post title.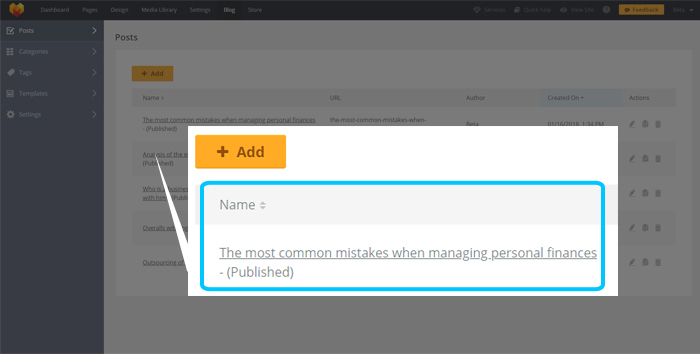
"Post Name" and "Post URL" can be edited separately after you enter post structure area.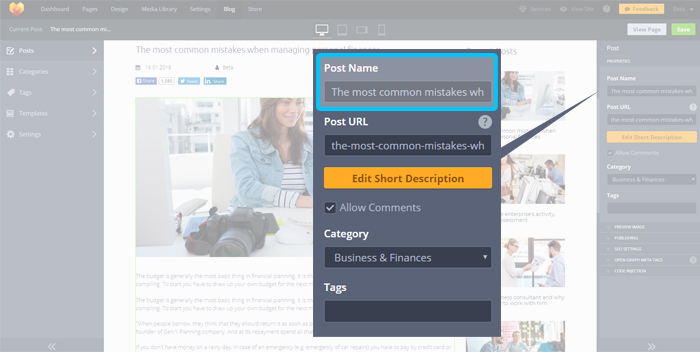
You can edit short description for the post using the "Edit Short Description" button.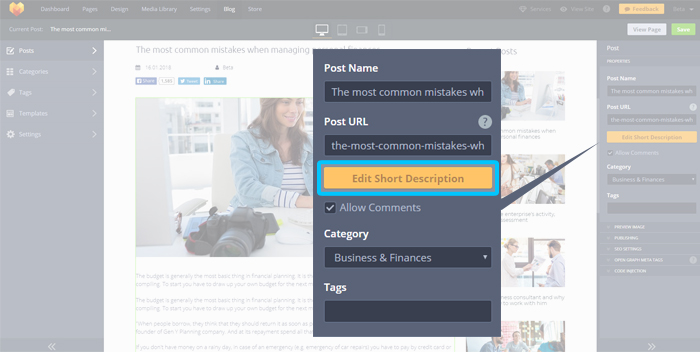
Once you click on the button, you will see a pop-up with CKEditor tools, where you can specify description and modify it's text style, size etc.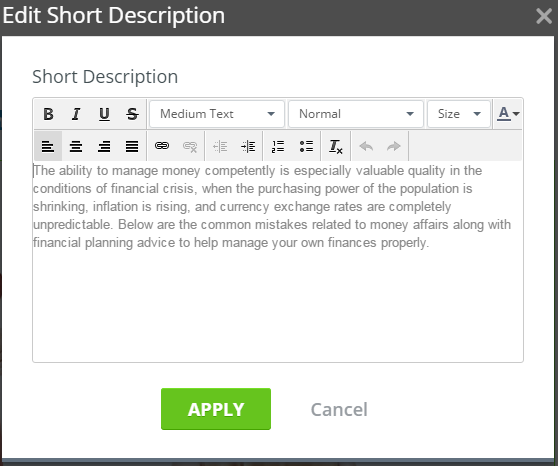
Once you apply and save the changes, you will be able to preview description on the live site, using the "View Page" button.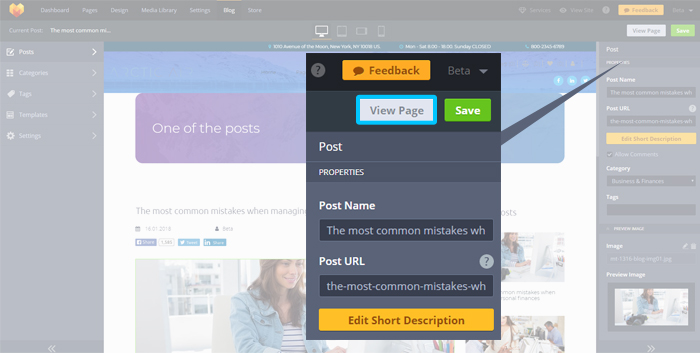
You can place any content (widgets) from the Widgets tab within the "Content" section of your Post page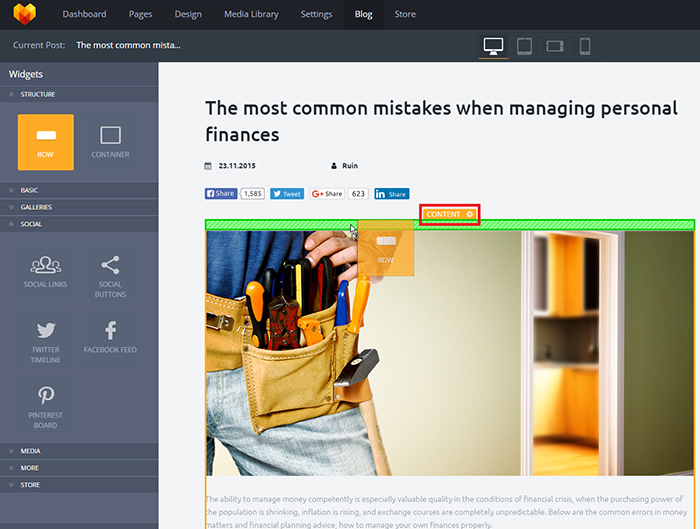
"Allow Comments" feature allows you to enable/disable commentary field under the post.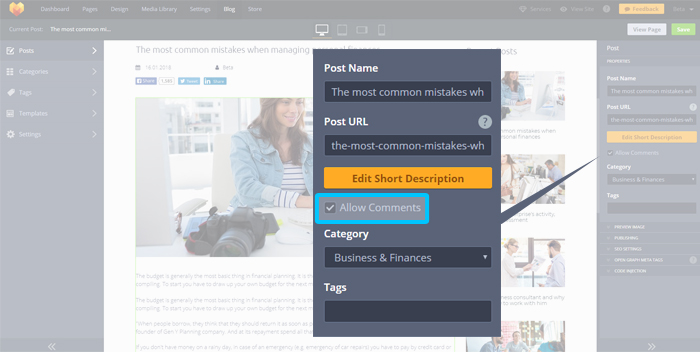
"Category" feature allows you to link post to the specific category.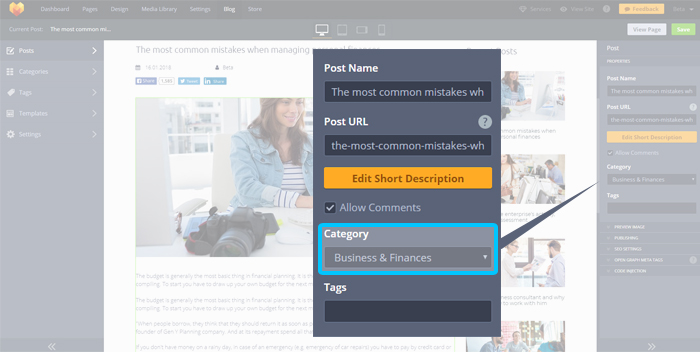
"Tags" feature allows you to use various tags for the selected post.
"Image" feature allows you to select/edit/remove the image for the post.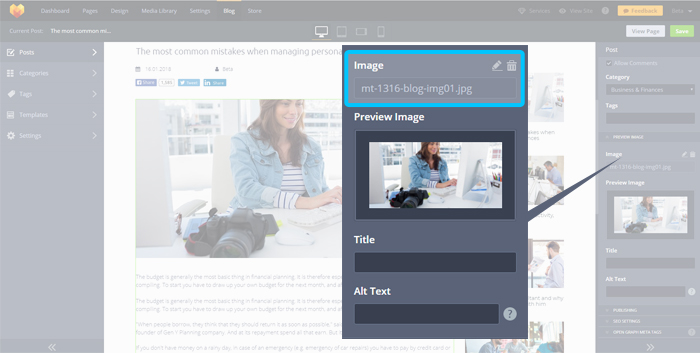
"Preview Image" block allows you to add image into your post, which can be seen on both Main Page and on the post page directly and edit it's SEO features, such as "Title" and "Alt Text".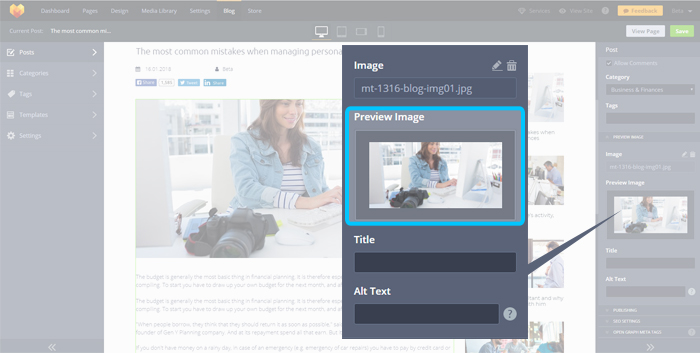
You can change/remove "Preview Image", using "Edit"/"Remove" buttons.
"Title" - this feature allows you to set specific title for the image.
"Alt Text" - this feature allows users to see the alt text if their browser blocks possibility to preview images.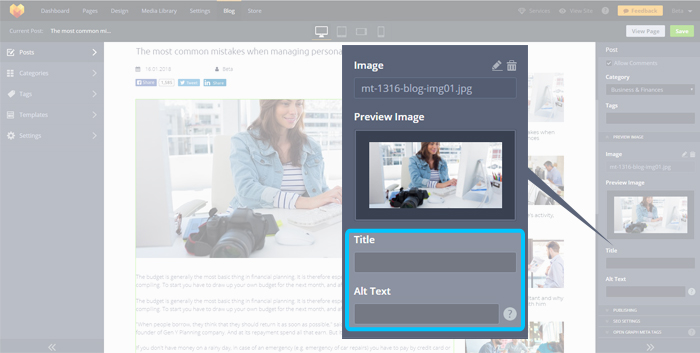
"Status" feature allows you to hide/publish your posts on the blog page. Status shares the same logic of work as the regular page's status. If you use "Draft" status - you can preview page/post within the site's Control Panel, however it won't be visible on the live site. If you use "Published" status - everybody can preview Main Page/post.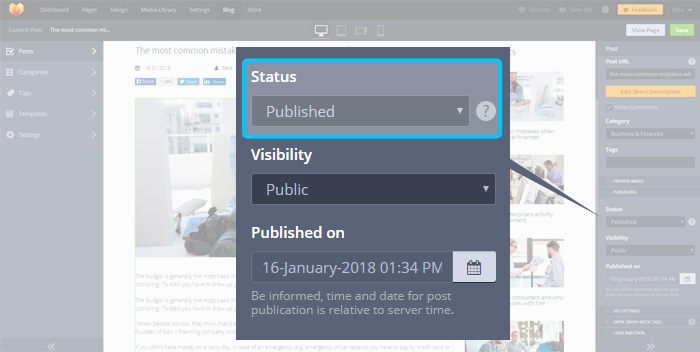
"Visibility" feature allows you to either make your post public or hide it with the help of password protected feature. You can use general password for all posts or use unique password for each post.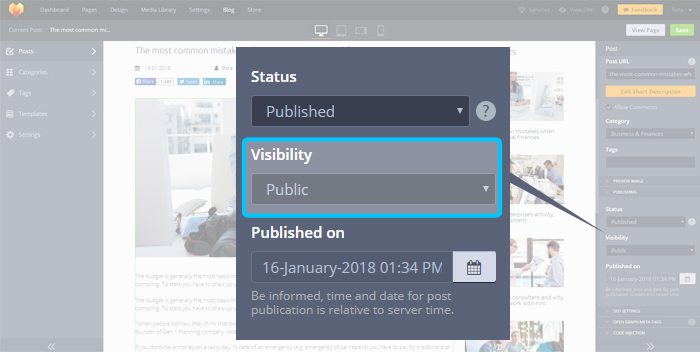
"Published On" feature allows you to change the published date of the post, allowing you to change the order of the post in the history (from most actual to the oldest post).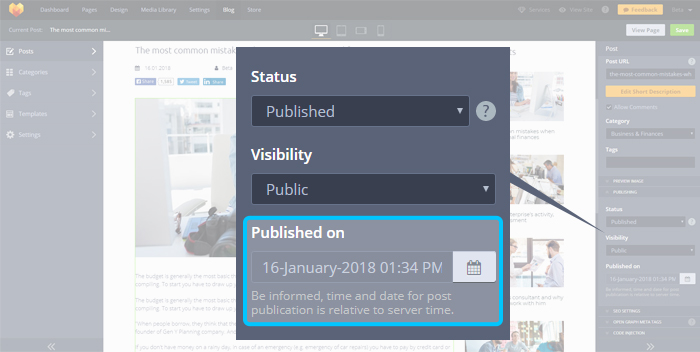
"SEO Settings" block includes "Meta Title", "Meta Description", "No-Index", "No-follow" and "Hide Canonical" options.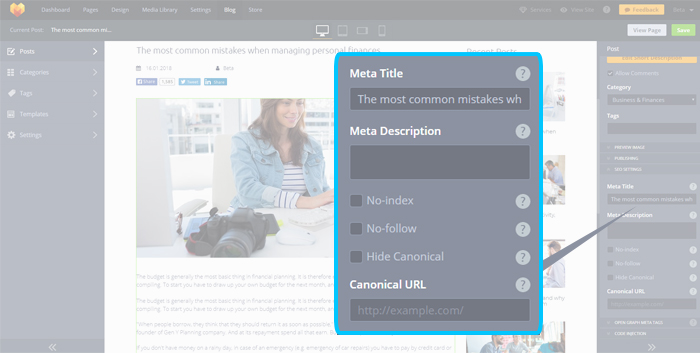
"Meta Title" - this title will appear in the browser's tab.
"Meta Description" - field must contain short information about your page, so it would be easier to find this post in search results.
"No-Index" - if enabled, this feature won’t allow search engine to index post.
"No-Follow" - if enabled, this feature won’t allow search engine to index post, however all external URL’s from the following post page would be active.
If both options were enabled - search engine won’t index post and external URL’s from the post page would be disabled.
"Hide Canonical" - if enabled, attribute rel="canonical" will be removed from the current post.
"Canonical URL" - allows you to point current page to alternative page using rel="canonical".
"Code Injection" block allows you to input custom code into the header/footer of your post.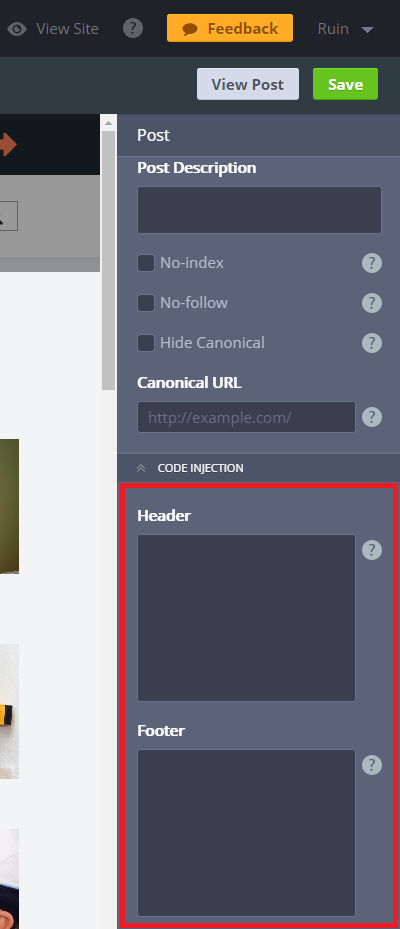
Categories
This menu item allows you to make the blog more structured and understandable.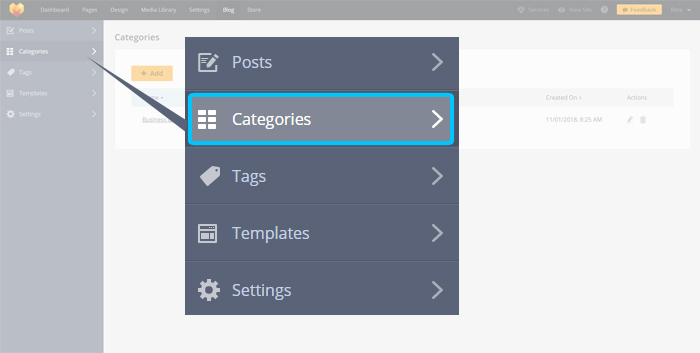
You can add new categories with the help of "Add" button.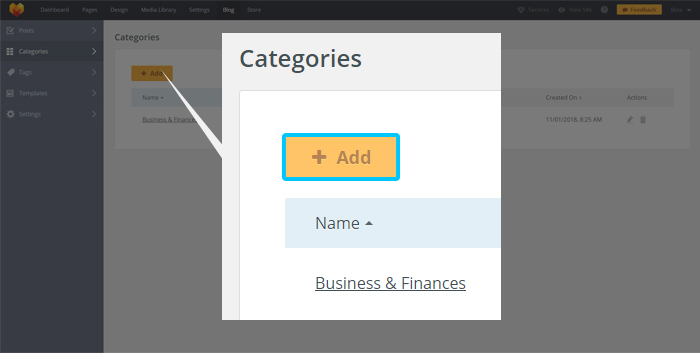
"Properties" tab contains the following features: "Category Name", "Category URL", "Short Description", "Long Description".
"Category Name" - this field allows you to edit the title of your category.
"Category URL" - this field allows you to edit the URL of your category.
"Short Description" and "Long Description" - this field allows you to add/edit description for the specific category, which is visible on the category's page directly.
"SEO Settings" - this tab allows you to edit SEO features of your category, including Meta Title, Meta Description, Canonical URL, set No-index, No-follow or Hide Canonical features.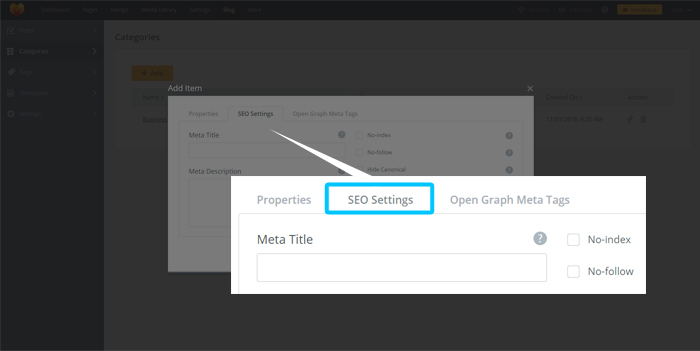
"Meta Title" - this is the name of your page displayed in the browser tab and search engine results. Make sure to use unique titles for each of your website pages. Place your target keywords (1-2) at the very beginning of the title and your brand name (if needed) at the end. It will help you boost the page ranking. It is also recommended to keep titles 50-60 characters long.
"Meta Description" - this feature is a block of text displayed in search results under the page title and URL. It describes what the page is about and can help you attract more visitors from the organic search. Make sure to use unique meta descriptions for each of your website pages. It is necessary to include a call to action and target keywords in the descriptions. Bolded keywords and CTA will attract users to your website page. It is recommended to keep the descriptions under 160 characters long.
"Open Graph Metatag" - this tab allows you to to improve the content you share on your social profiles. Open Graph meta tags are snippets of text that communicate a page's content with social media (such as Facebook and Twitter).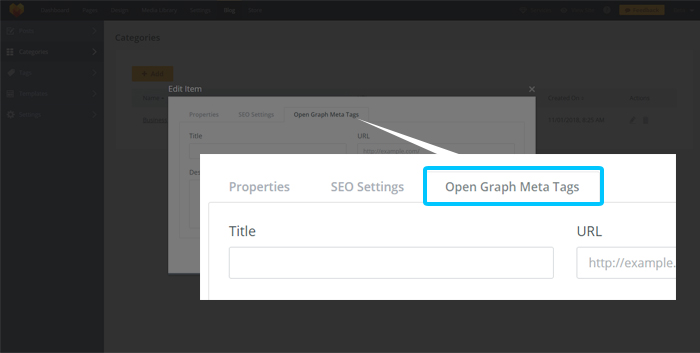
"Title" - this feature allows you to set the title of the shared post.
"URL" - this feature allows you to set an URL of your shared post.
"Description" - this feature allows you to type the description of the shared post.
"Image" - this feature allows you to set an image for the post, which will appear on the social page once you share the post.
"Counter Posts" - this feature shows the information on the number of blog posts which correspond to each category.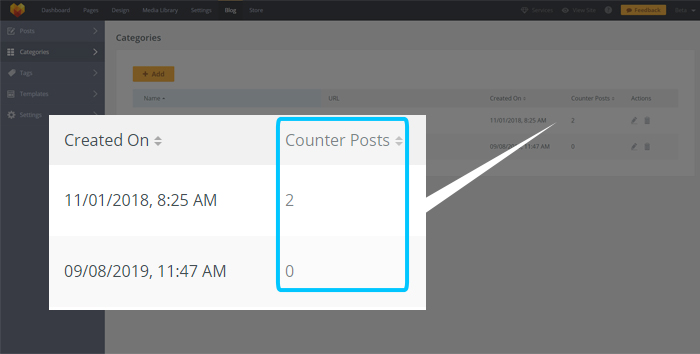
This menu item allows you to create tags for posts. It improves site's SEO and allows visitors to find your posts faster.
You can add new tags with the help of "Add" button.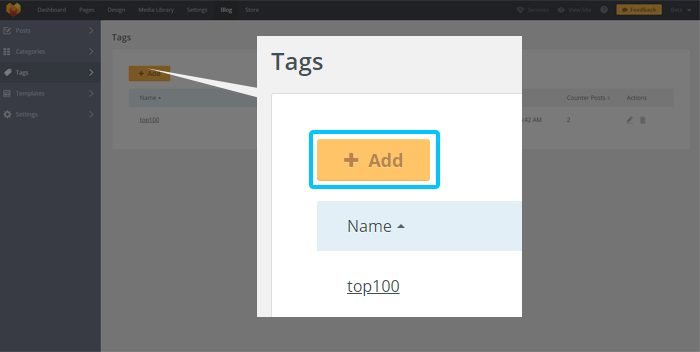
If you've applied the tag to some posts - you can see that number of posts within the "Counter Posts" area.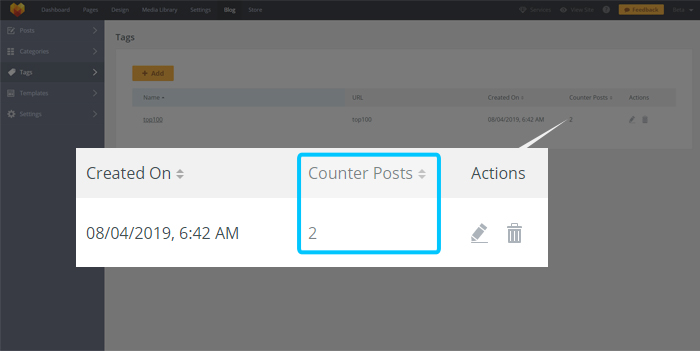
"Properties" tab contains the following features: "Tag Name", "Tag URL", "Short Description", "Long Description".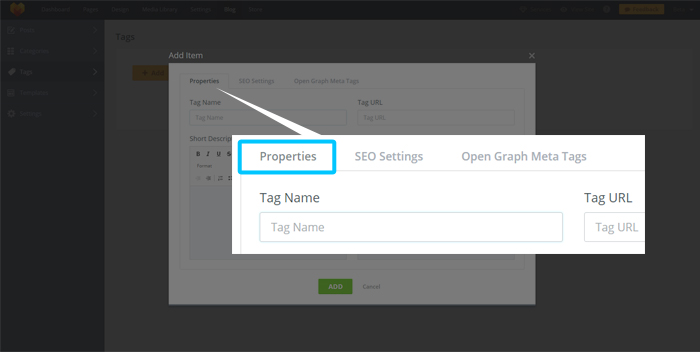
"Tag Name" - this field allows you to edit the title of your tag.
"Tag URL" - this field allows you to edit the URL of your tag.
"Short Description" and "Long Description" - this field allows you to add/edit description for the specific tag.
"SEO Settings" - this tab allows you to edit SEO features of your tag, including Meta Title, Meta Description, Canonical URL, set No-index, No-follow or Hide Canonical features.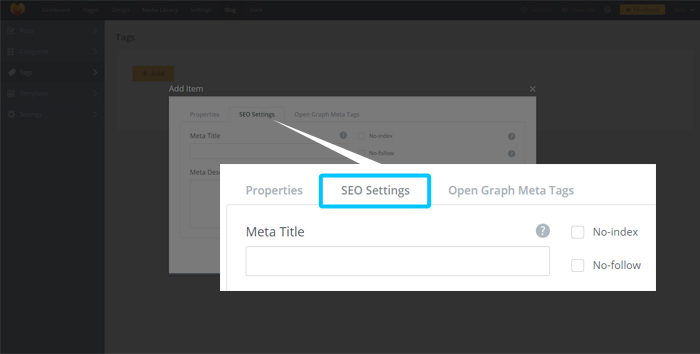
"Meta Title" - this is the name of your page displayed in browser tab and search engine results. Make sure to use unique titles for each of your website pages. Place your target keywords (1-2) at the very beginning of the title and your brand name (if needed) at the end. It will help you boost the page ranking. It is also recommended to keep titles 50-60 characters long.
"Meta Description" - this feature is a block of text displayed in search results under the page title and URL. It describes what the page is about and can help you attract more visitors from the organic search. Make sure to use unique meta descriptions for each of your website pages. It is necessary to include a call to action and target keywords in the descriptions. Bolded keywords and CTA will attract users to your website page. It is recommended to keep the descriptions under 160 characters long.
"Open Graph Meta Tags" - this tab allows you to to improve the content you share on your social profiles. Open Graph meta tags are snippets of text that communicate a page's content with social media (such as Facebook and Twitter).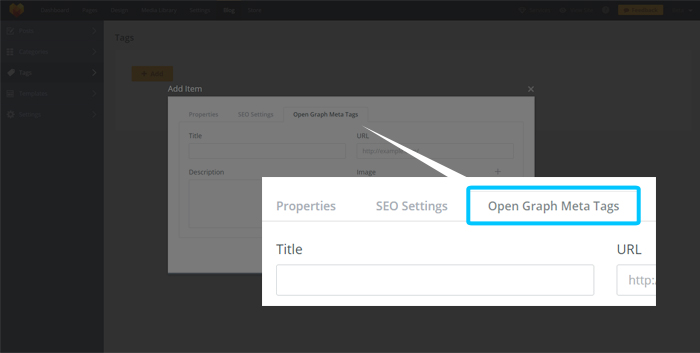
"Title" - this feature allows you to set the title of the shared post.
"URL" - this feature allows you to set an URL of your shared post.
"Description" - this feature allows you to type the description of the shared post.
"Image" - this feature allows you to set an image for the post, which will appear on the social page once you share the post.
Templates
This menu item allows you to edit your main Blog page and the template of all the site's posts. It's separated into four submenu items: "Main Page", "Post", "Category" and "Tag".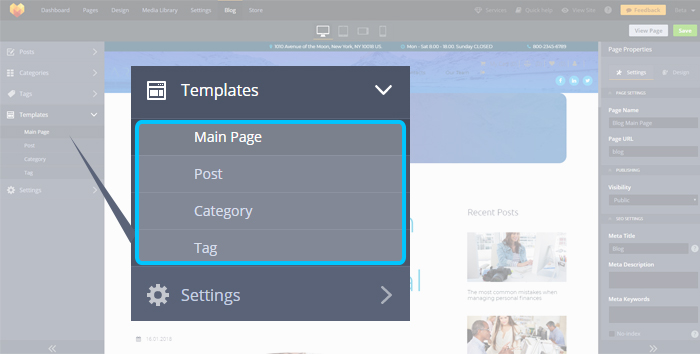
Main Page submenu item contains three widgets: Post List, Recent Posts and Category List.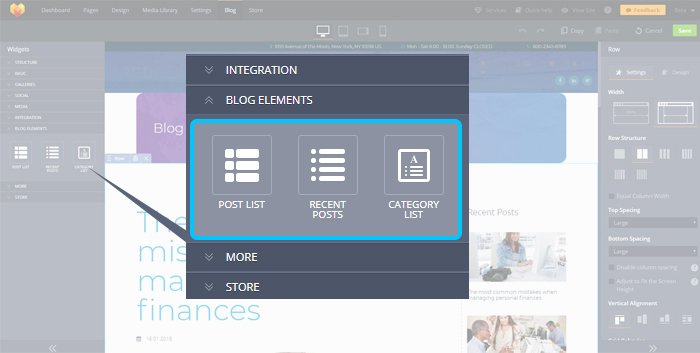
"Page Properties" within the Blog section shares same features as regular Page Properties, except Parent Page feature which can't be used for the "Main Blog Page" (you can read more about "Page Properties" here).
You can fill "Main Page" with all available widgets, which are presented in the "Widgets" section on the left side of Control Panel (note, that you can place widgets over or under the "Post List" or "Recent Posts" widgets, but not within them directly).
All widgets are presented under the "Blog Elements" tab.
Post List
This widget represents all published posts and has a specific structure with the following order of elements (from highest to lowest): "Post Name", "Date, Image" (if enabled), "Description", "Read More" button and "Horizontal Divider".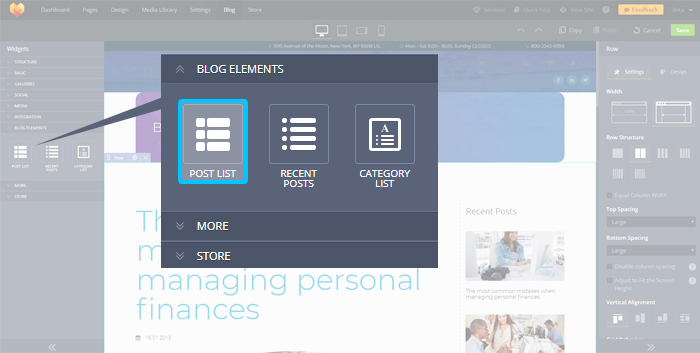
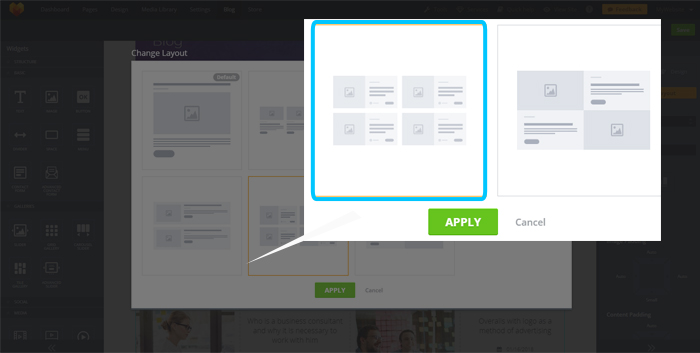
"Change Layout" - this feature allows you to change the appearance of the main page of the blog applying predefined layouts.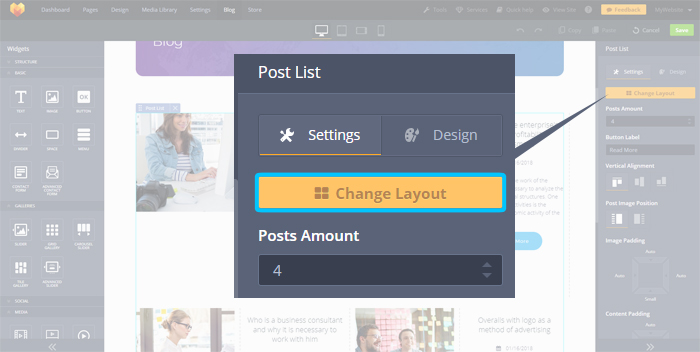
"Posts Amount" - this feature allows you to set the amount of visible posts while previewing Post List.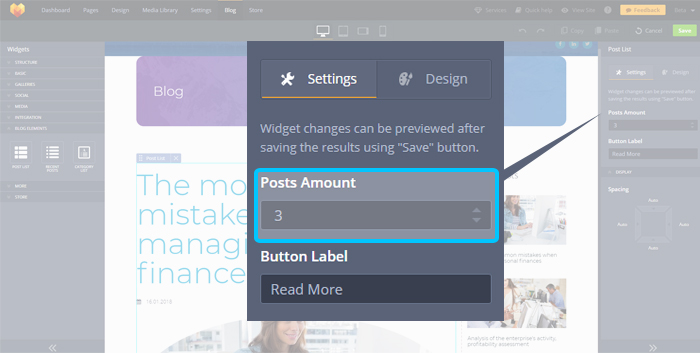
"Button Label" - this feature allows you to change the default "Read More" text of all buttons.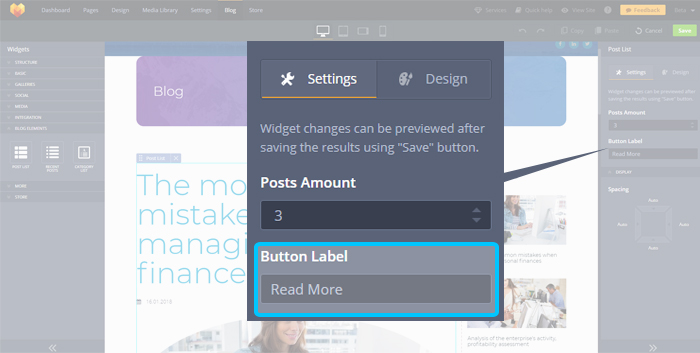
"Design" tab allows you to change the style of your "Post Name Style", "Date Style", choose various presets for "Image", "Button" and "Divider". You can also change "Button's Size".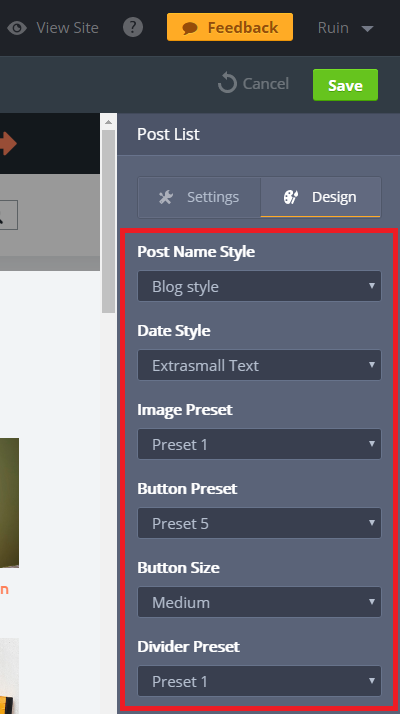
"Post Name Style" - this feature changes the appearance of your post title.
"Date Style" - this feature changes the date style appearance.
"Image Preset" - this feature changes the appearance of post images (there can be used 5 alternative presets).
Changes affect both "Normal" and "Hover" effect of your image.
"Button Preset" - this feature changes the appearance of your button widget.
"Button Size" - this feature allows you to change button size ("Small", "Medium", "Large").
"Divider Preset" - this feature allows you to change the appearance of your Horizontal Divider (there are available 3 alternative presets).
"Content Spacings" feature allows you to set the necessary indents between all internal post elements (e.g., author, date, image, description, button, title).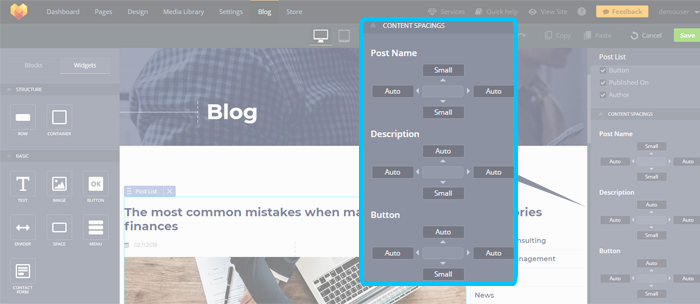
Recent Posts
This widget contains information about most recent posts. You can place as many Recent Posts widgets as necessary within both "Main Page" and "Post" menu items (which are the part of "Templates" menu item).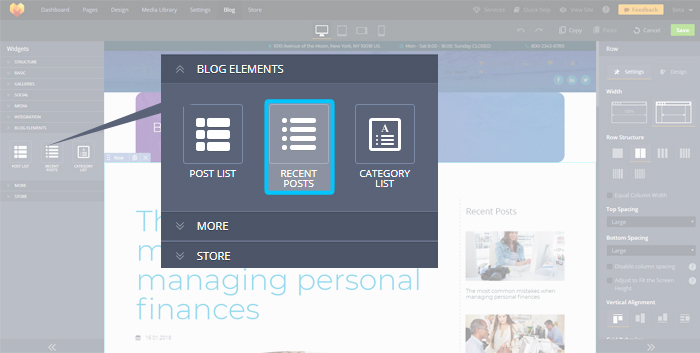
"Posts Amount" - this feature allows you to increase/decrease amount of visible posts on the page (from 1 up to 20).
"Title" - this feature allows you to edit the title of your "Recent Posts" section.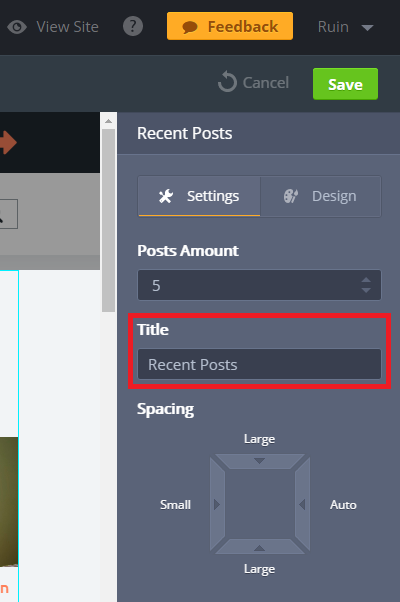
"Spacing" - this feature allows you to edit padding feature (increase/decrease internal indent between the widget's content and column border from 4 sides: left, right, top, bottom). This editing can be made through 4 drop-down lists, which contain the following preset features: "Auto", "0", "Small", "Medium", "Large". "Auto" preset is used by default.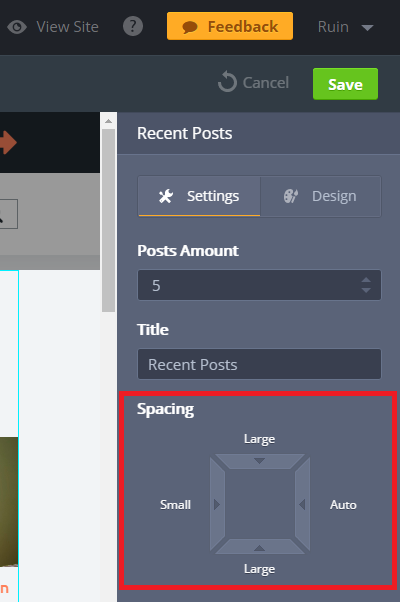
You can modify spacing value with the help of arrow buttons or using ready-made values ("Auto", "0", "Small", "Medium", "Large"). In this case you need to click on the value’s title and choose necessary option from the list.
"Design" tab allows you to modify your Recent Post's "Title Style", "Post Name Style" and choose various "Image Presets".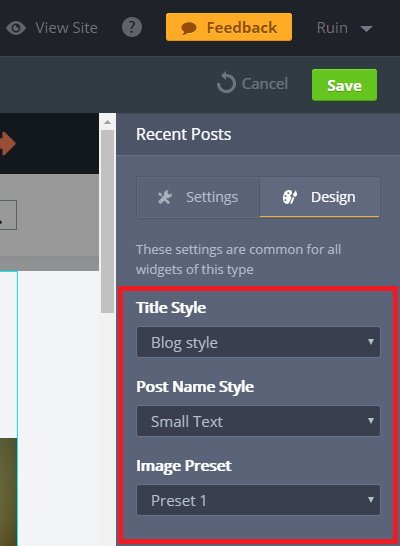
"Title Style" - this feature allows you to change the font style of your "Recent Posts" title.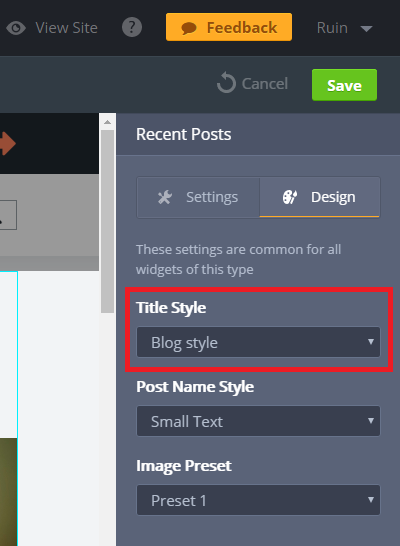
"Post Name Style" - this feature allows you to change the font style of your post within the "Recent Posts" area.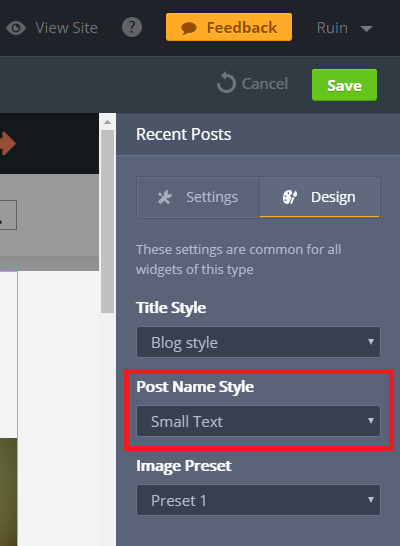
"Image Preset" - this feature changes the appearance of post images (there can be used 5 alternative presets).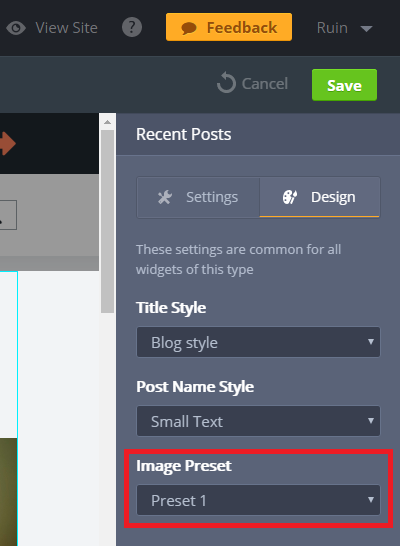
"Content Spacings" feature allows you to set the necessary indents between all internal post elements (e.g., author, date, image, description, button, title).
Category List
This widget allows you to preview the list of your blog categories on the page.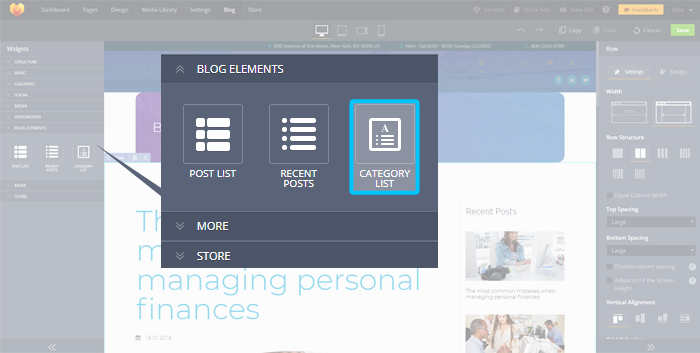
There are the following list types: All Categories and Custom List.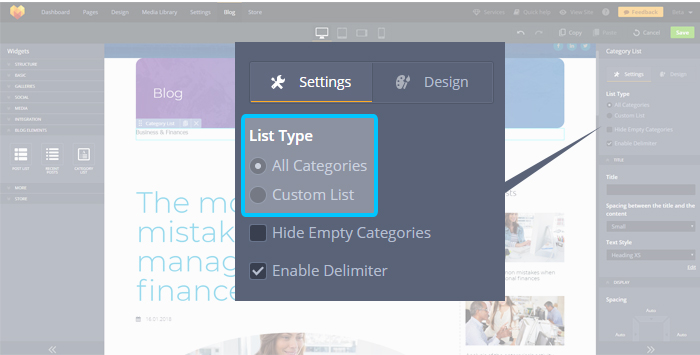
"All Categories" list type allows you to preview every created category on the page.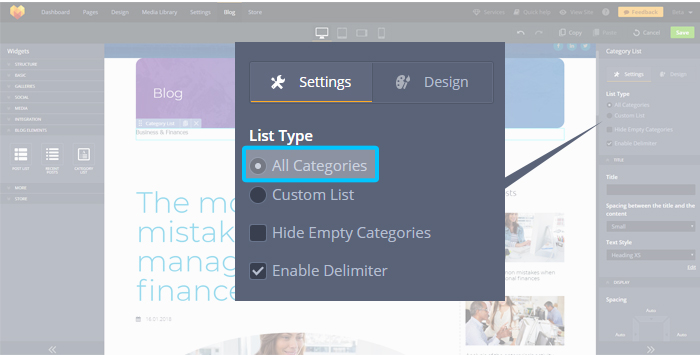
"Custom List" type allows you to select which categories you would like to show for your visitors.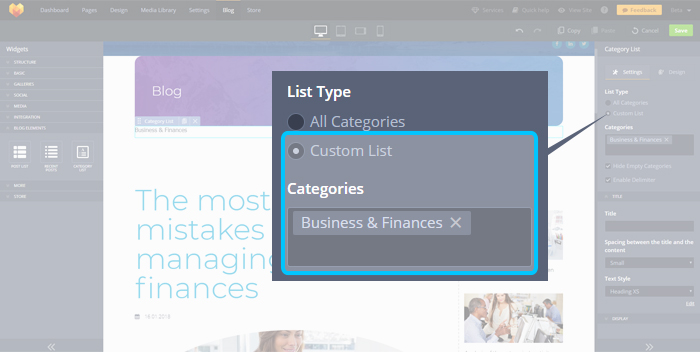
"Hide Empty Categories" option will not show categories without content.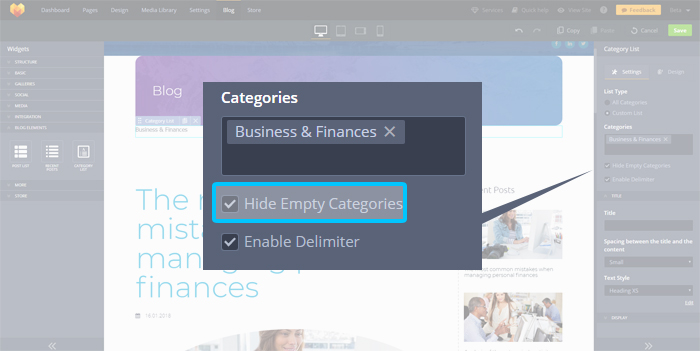
"Show Number of Posts" feature allows you to display information about the number of blog posts corresponding to each category.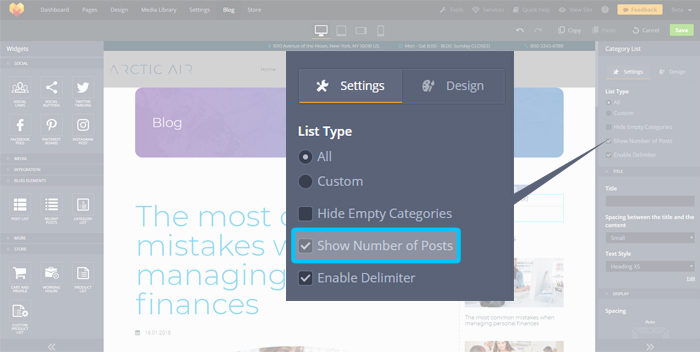
"Enable Delimiter" - this feature enables delimiter feature for the category list to separate categories.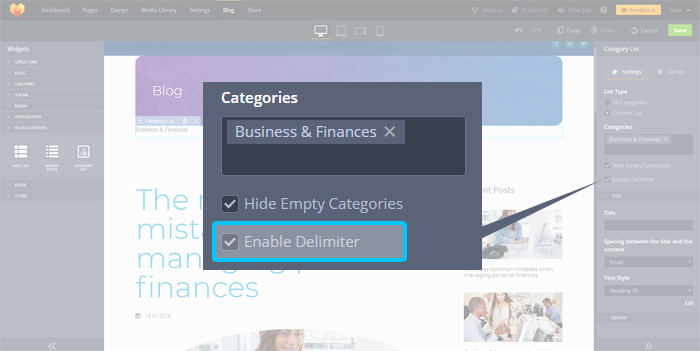
"Title" block allows you to set the category list title and modify its style and spacing.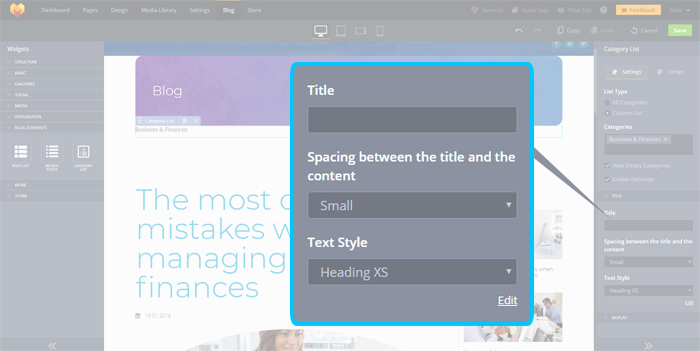
"Design" tab allows you to set the icon for the category list and modify its preset name via Design - Widgets - Category List presets.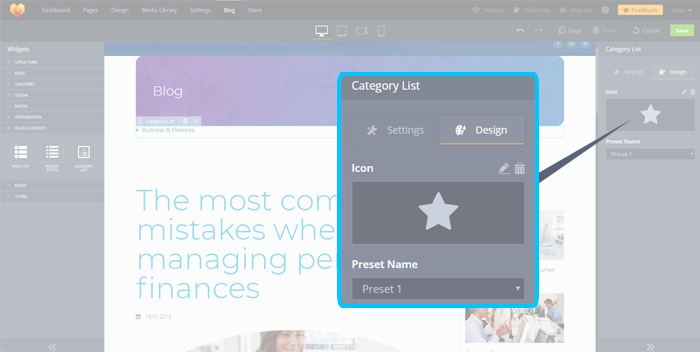
"Tag List" - this widget allows you to display a list of existing blog tags on any page of the website.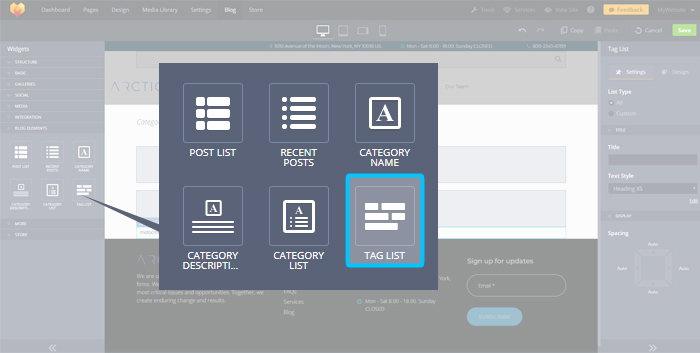
"All" list type allows you to preview every created tag on the page, while the "Custom" type allows you to select which tags you would like to show for your visitors.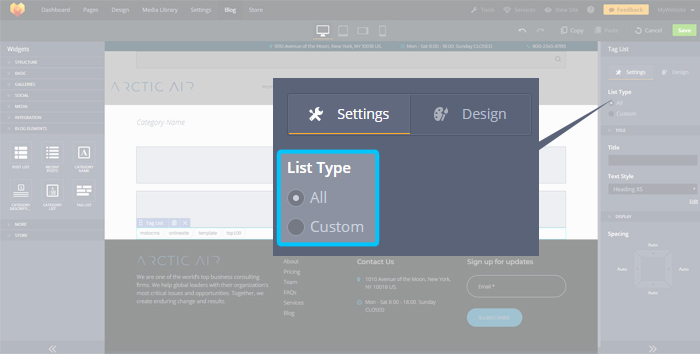
Post
This submenu item allows you to create a post template, which affects all new or existing posts.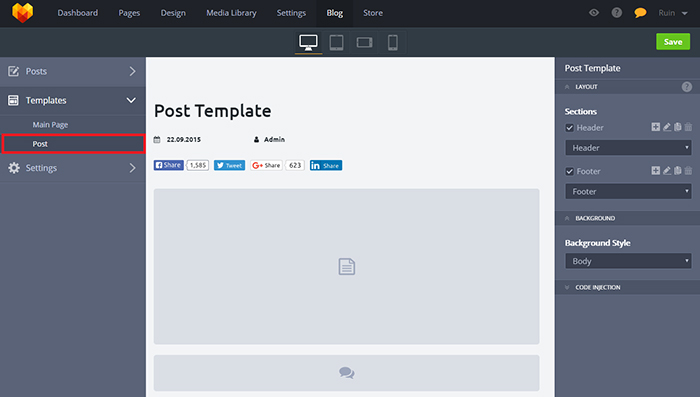
"Post" submenu item provides possibility to add the following blog elements into the post template: "Recent Posts", "Post Name", "Author", "Published On" (Date), "Comments".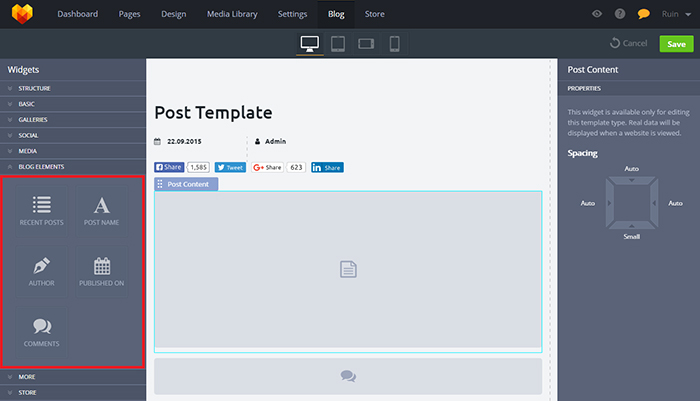
!Important! The following widgets can be used only once on the Post page (post template): "Post Name", "Comments". Also you can't add "Post List" widget on the Post page. However, you can add "Recent Posts", "Author", "Published On" widgets as much as necessary.
"Recent Posts" - this widget contains information about most recent posts.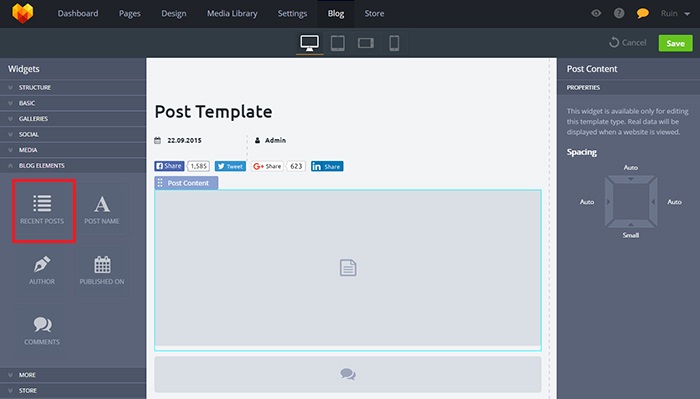
"Posts Amount" - this feature allows you to increase/decrease amount of visible posts on the page (from 1 up to 20).
"Title" - this feature allows you to edit the title of your "Recent Posts" section.
"Spacing" - this feature allows you to edit padding feature (increase/decrease internal indent between the widget's content and column border from 4 sides: left, right, top, bottom). This editing can be made through 4 drop-down lists, which contain the following preset features: "Auto", "0", "Small", "Medium", "Large". "Auto" preset is used by default.
You can modify spacing value with the help of arrow buttons or using ready-made values ("Auto", "0", "Small", "Medium", "Large"). In this case you need to click on the value’s title and choose necessary option from the list.
"Design" tab allows you to modify your Recent Post's "Title Style", "Post Name Style" and choose various "Image Presets".
"Title Style" - this feature allows you to change the font style of your "Recent Posts" title.
"Post Name Style" - this feature allows you to change the font style of your post within the "Recent Posts" area.
"Image Preset" - this feature changes the appearance of post images (there can be used 5 alternative presets).
"Post Name" - this widget allows you modify style and position of your post name on the site's page.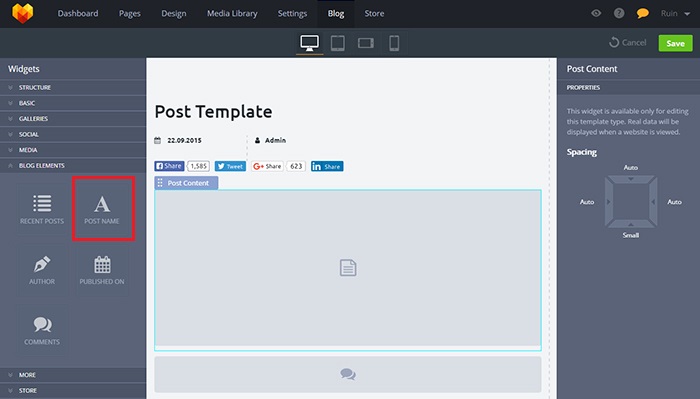
"Text Style" - this feature allows you to change the font style of your Post Name widget.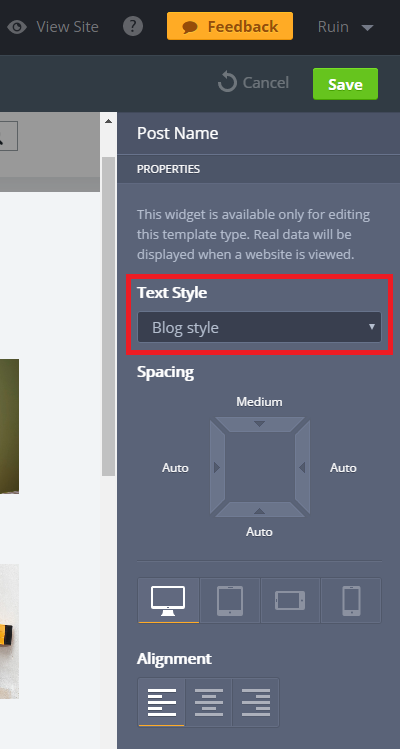
"Spacing" - this feature allows you to edit padding feature (increase/decrease internal indent between the widget's content and column border from 4 sides: left, right, top, bottom). This editing can be made through 4 drop-down lists, which contain the following preset features: "Auto", "0", "Small", "Medium", "Large". "Auto" preset is used by default.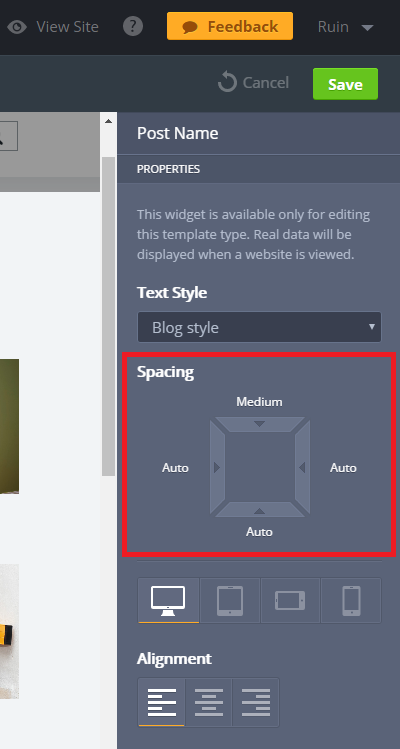
You can modify spacing value with the help of arrow buttons or using ready-made values ("Auto", "0", "Small", "Medium", "Large"). In this case you need to click on the value’s title and choose necessary option from the list.
You can preview widget's position using various devices: regular computer, tablet, landscape phone, portrait phone.
"Alignment" - this feature re-aligns your contact form position within the Contact Form area, depending on the alignment side: left, middle or right.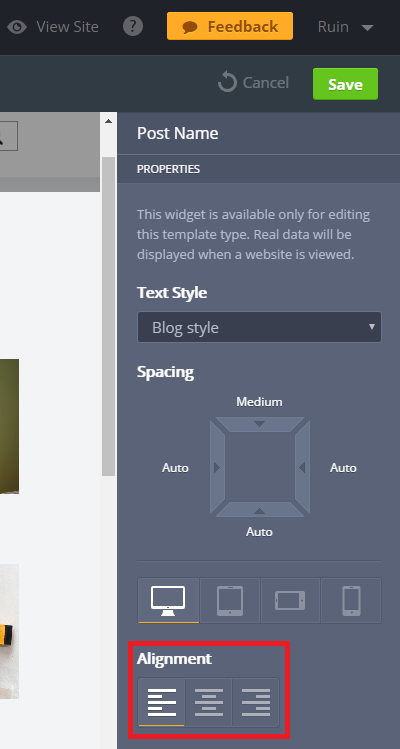
"Author" - this widget reflects your profile name within the post area (shares the same features as the Post Name widget).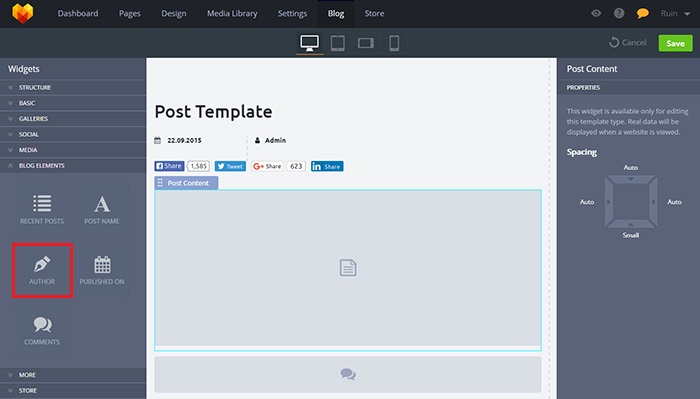
"Published On" - this widget reflects the date of your post (shares the same features as the Post Name widget).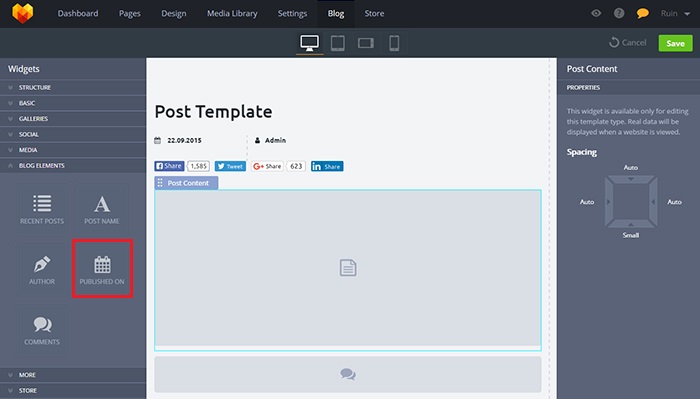
"Comments" - this widget allows you to use Disqus commentary form in your post. You can enable it within the Blog - Settings tab.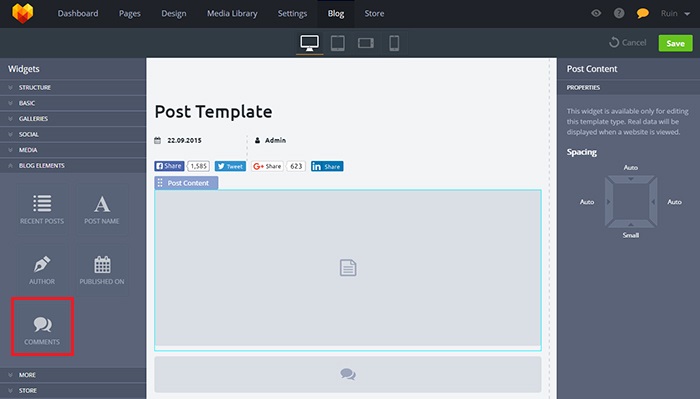
"Spacing" - this feature allows you to edit padding feature (increase/decrease internal indent between the widget's content and column border from 4 sides: left, right, top, bottom). This editing can be made through 4 drop-down lists, which contain the following preset features: "Auto", "0", "Small", "Medium", "Large". "Auto" preset is used by default.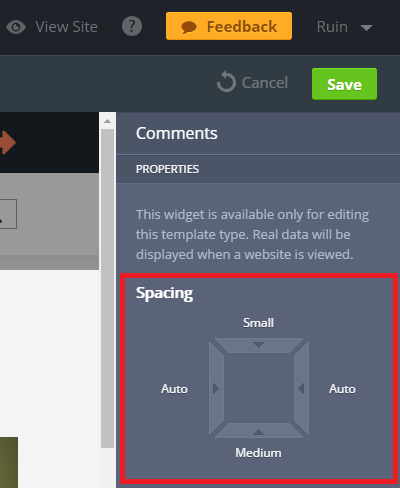
You can modify spacing value with the help of arrow buttons or using ready-made values ("Auto", "0", "Small", "Medium", "Large"). In this case you need to click on the value’s title and choose necessary option from the list.
"Post Content" area reflects the content position for each post within the "Posts" section.
!Important! Post Content section can't be removed - only relocated under or over other widgets. All other widgets can be removed from the post page.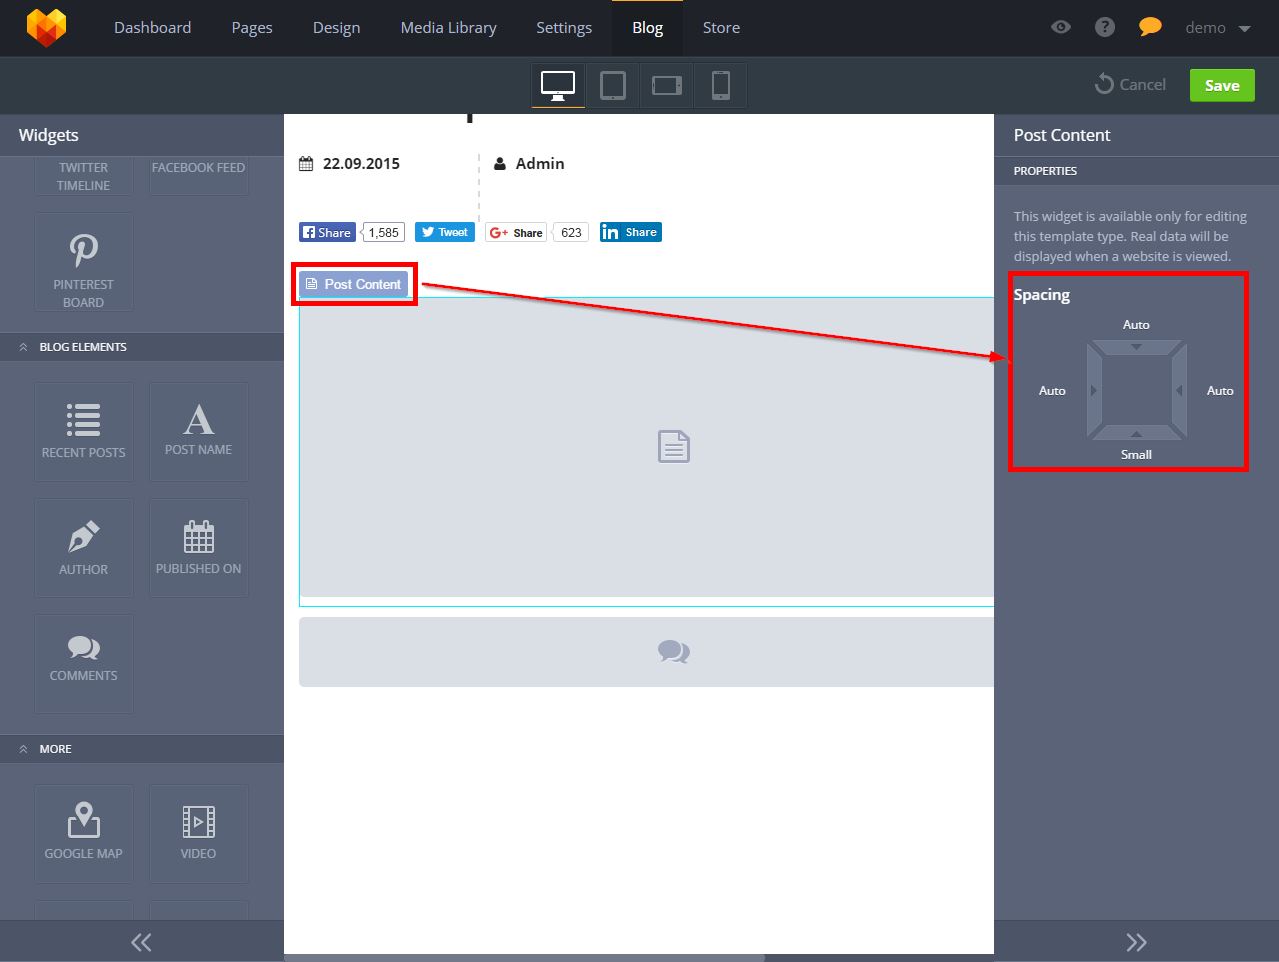
Settings
This menu item allows you to configure post comments and date format.
"Comments" block allows you to enable/disable commentary form for your posts. 
"Disqus" must be configured first, otherwise commentary form won't be presented on the post page. If it's configured correctly - you will see the following status: "Disqus" is connected successfully.
You need to click "Edit" button and system will redirect you to the Settings - Integration tab, where you need to specify your Disqus "Shortname". For more details please read the following guide.
"Language" block allows you to set a language for comments widget.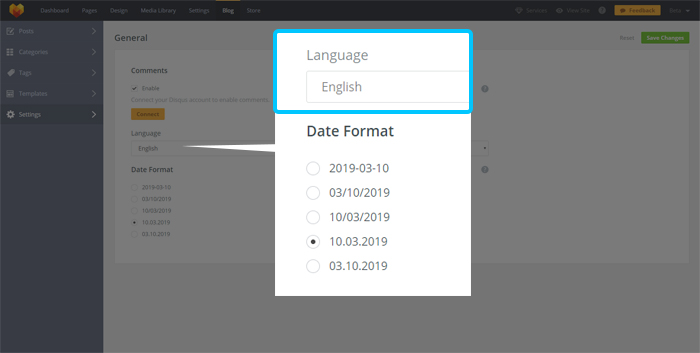
"Date Format" block allows you to change the date appearance of your posts (there are presented 5 variants).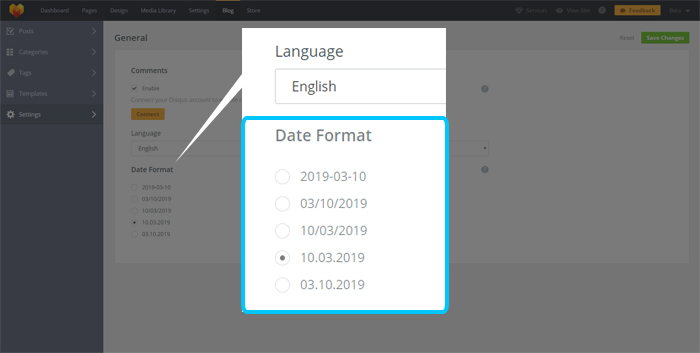
Comments