This guide will help you to add appointment feature from http://www.setmore.com/
Please follow these steps to add appointment widget:
1) Open http://www.setmore.com/ website and click on "Create a Free Account" button.
2) You will open a pop up with registration form. Please fill in all the text fields and click on "Create my account!" button.
3) Next pop up will help you to setup main properties of your account. You can skip each step by clicking on "Next" button, you will have an opportunity to enter this data later.
Once you reach the fifth step you will need to click on "Get the booking button" link
4) On the next page please check the following settings:
- Wrap up the button on the side of my website/page
- Open my Booking Page in a new window/tab
- I'll embed the code myself
Now you can copy your button code from "Copy and Paste on your website" text field.
5) Now you can add this appointment button widget code to 1 single page or all pages of your website.
In order to add your appointment widget to a single page please:
a) Open the page you need in your Moto CMS 3 control panel;
b) Expand "Code injection" tab;
c) Add your widget code to "Footer" text field;
d) Click on "Save" button;
In order to add your appointment widget to all template pages please:
a) Click on "Settings" button
b) Click on "Code Injection" tab
c) Add your widget code to "Footer" text field
d) Click on "Save changes" button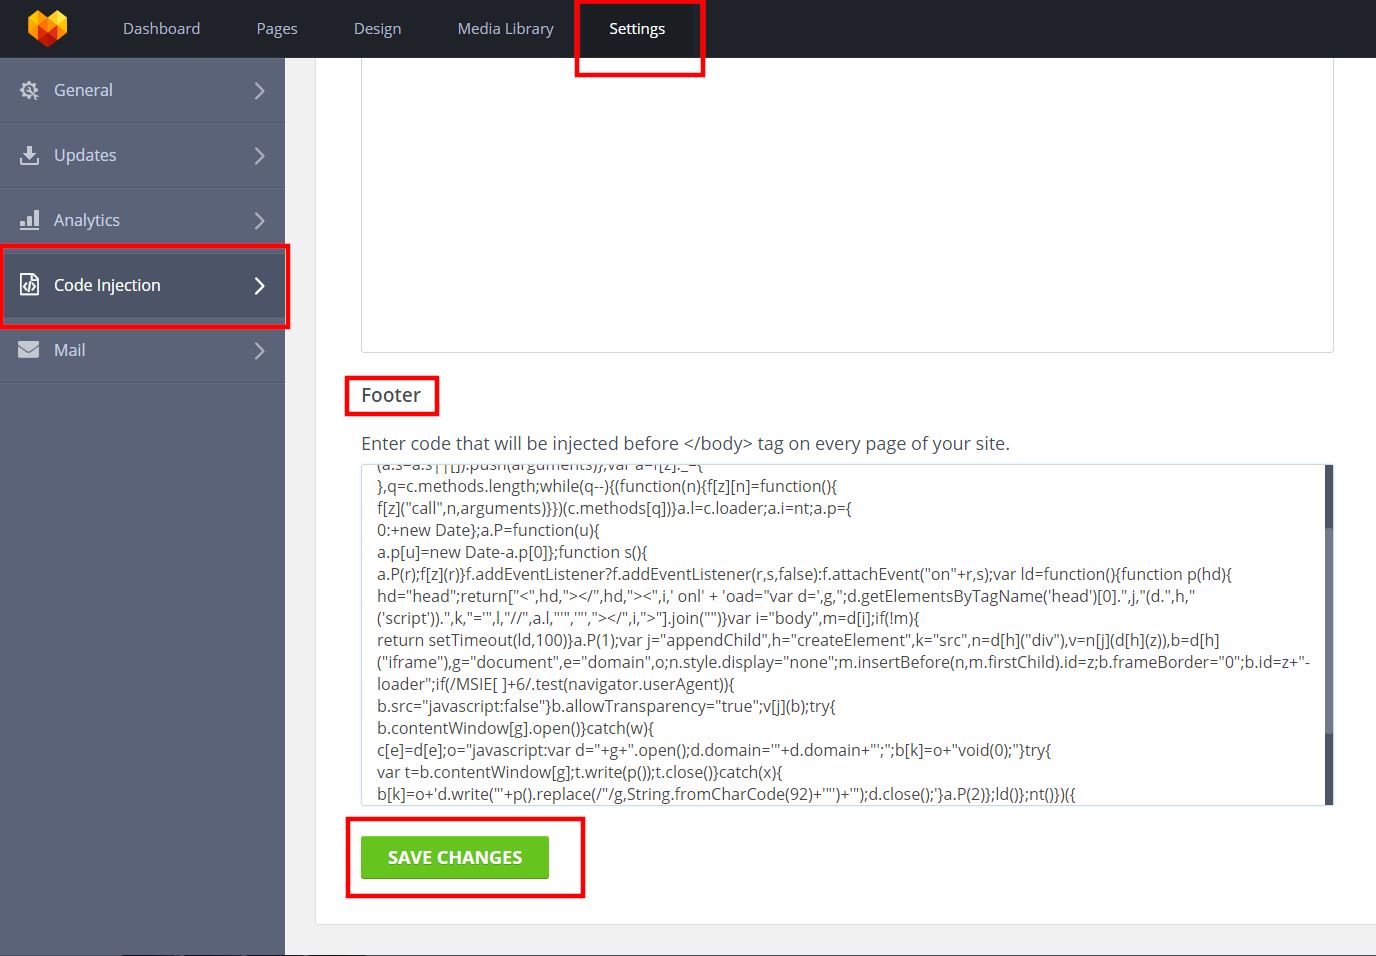
6) Now you can see your Setmore widget at your website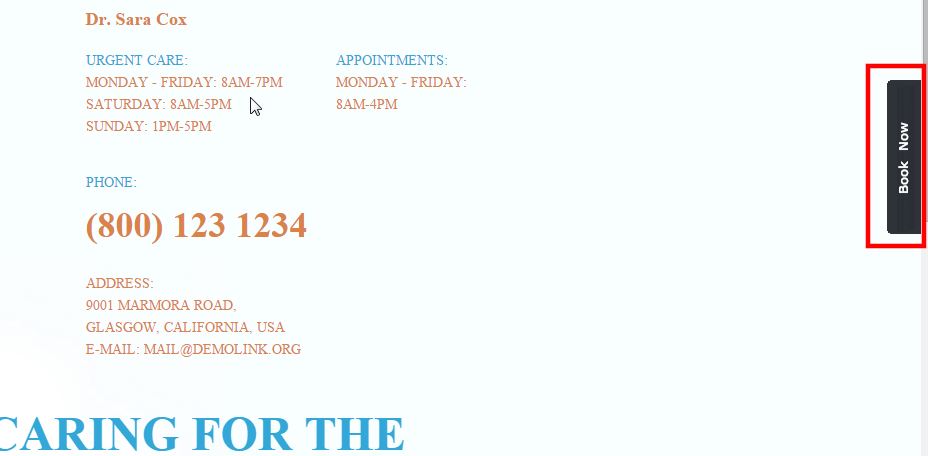
Comments